I like to illustrate my blog posts with images and photographs. One of the essential processes I must go through is resizing the photographs or screen shots that I display in my blog.
Why do I resize the image? I have two objectives. One is so that it will neatly fit in the area that my blogging template allows for text and images. That area is 450 pixels wide. The other objective is to reduce the file size of the image. For example, a screen shot may have an image file size 0f 400kb but through image resizing that may be reduced to 30kb for example. It will download much more quickly.>
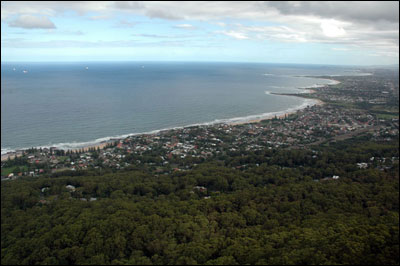
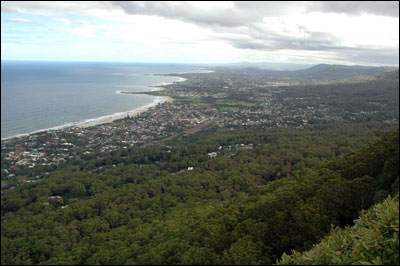
You wish to display a digital camera image on your blog. Digital cameras allow you to create images of different sizes. The size of the image is also dependent upon the settings you have specified on your camera. In this case, when I refer to dimensions “height” and “width”. For example, the two cameras that I use can produce images in a variety of dimensions. Consider the table below.
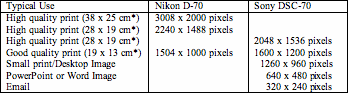
I usually “capture” or take my digital photographs at the highest resolution or largest dimension so that, for want of a better expression, I have plenty of “data” to work with when I edit the digital photograph. I find that with a larger image you can create an amended photograph with excellent detail and clarity when you resize it for printing, inclusion in a document or hosting on the Internet.
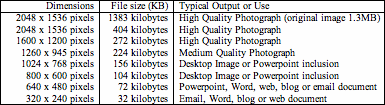
As an aside, the higher the dimensions an image possesses the greater its file size will be in kilobytes, most of the time. Consider the table below that shows the file size of the “north beach” digital photograph after it has been resized and saved at a “High Quality” setting in the JPG file format at a variety of different dimensions. You will observe that the original image weighs in at 1383kb. If it is simply re-saved it immediately drops in size to 404kb. As one decreases the dimensions of the image its file size drops as well.
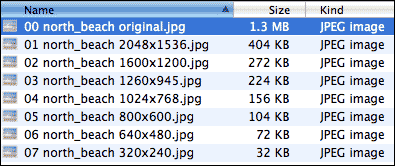
All of the images listed above are available from this online directory. This is a screen shot of the directory on my mac.
I like to work with Adobe Photoshop or Photoshop Elements. If I need to resize just a few images I will simply open each image in turn and select Image menu > Resize > Image Resize. The following dialogue box will appear.
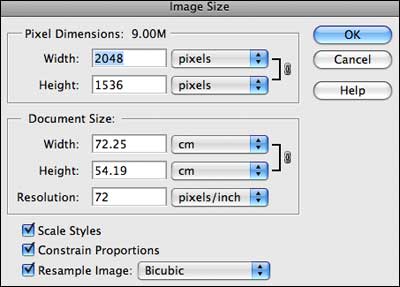
In the example above you can see that the original image is 2048 x 1536 pixels. The resolution is set at 72 pixels per inch which is the ideal resolution for display on the web. I prefer to work pixels in terms of units. Other users prefer centimetres or inches. I can visualise pixels better on the screen.
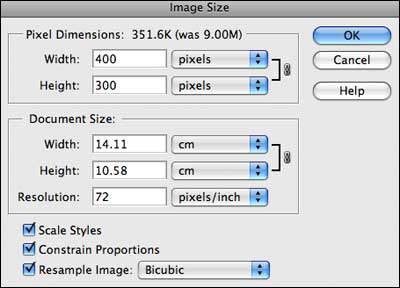
I wish to give the image a width of 400 pixels. I simply type 400 in the width field. Notice that the checkbox “Constrain Proprtions” is selected. That ensures that the resized image is not distorted. Photoshop Elements automatically set the height at 300 pixels. Once I have completed the two fields I click OK.
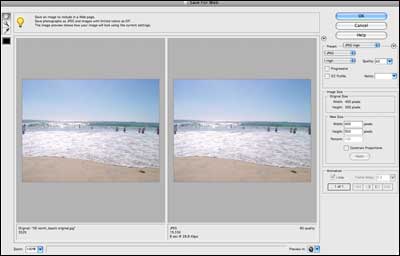
Adobe Photoshop and Photsoshop Elements have a “Save for Web” menu option from the File menu that gives you a great deal of control over the dimensions, file size and quality of the image. You can alter the quality and numbers of colours and view the impact in real time.
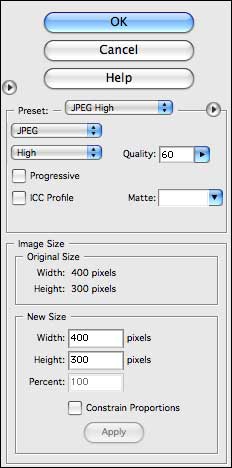
Photoshop and Photoshop Elements also allow you to batch process a folder full of images so that all are resized to the dimensions that you prescribe.
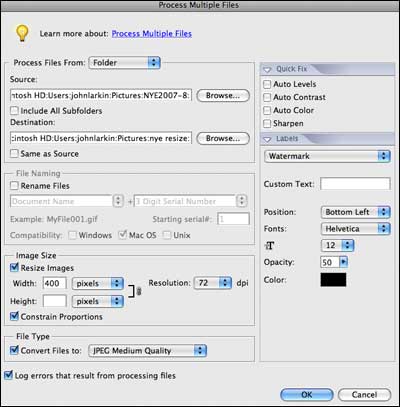
Why would you like to resize an image? Well, there are a number of reasons:
1. Images with large dimensions are also large in file size. The North Beach image before resizing is 1.2 megabytes. After resizing it is 20 kilobytes. An amazing reduction in size. It is easy for you to include this image in a word processing document, PowerPoint presentation or an email.
2. Placement within a document. Do not simply import large images into a Word document and then resize it. The file size of your document will be too large as all the original image data is retained.
3. Importing into PowerPoint. Do not simply import large images into a PowerPoint presentation and then resize it. The file size of your document will be too large as all the original image data is retained.
4. Emailing to a friend. What would your email recipient prefer? A 1mb or a 100k file?
5. Posting to the Internet. Keep the image a reasonable size so that download times are reduced.Creating a desktop image.
You can download a set of instructions in pdf or word format that I created for resizing images in addition to other common image processing operations from my digital photography workshop page.
There are alternatives to Photoshop and Photoshop Elements when it comes to resizing images. On the Mac there is the excellent programme Pixelmator which allows for batch processing of images as well. On the PC there is a dedicated tool called PixResizer that also performs batch operations.
Please share your own techniques below.